Techniques
The history of letterpress in a few words…
Originating in the 1400s, letterpress was the primary method of printing and communication for more than 500 years. Eclipsed in the last century by modern offset and digital printing methods for most commercial applications, letterpress remains a popular technique for more artistic pursuits that seek to exploit the pleasing tactile and dimensional quality that can be obtained by printing with increased pressure.
Letterpress is a relief printing method that uses raised metal type, and wood or metal engravings to print onto paper using pressure. The work of Johannes Gutenberg (1400-1468), credited as the first letterpress printer, revolutionised printing. His creation of moveable type and his hand printing press were pivotal in bringing the printed word to the masses.
-
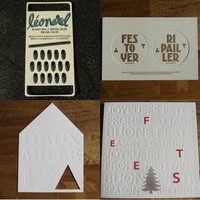
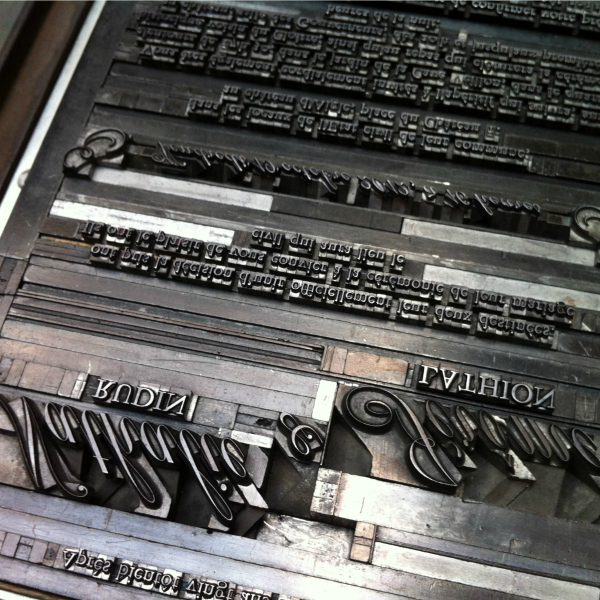
Hand composition
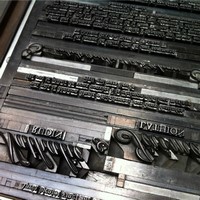 Hand composition is the process of assembling metal or wooden characters and engravings to create the form to be printed. The modern development of polymer based printing plates has increased the accessibility of letterpress printing, reducing the time and material required to create a form to be printed. The ink is applied directly to the form which is then pressed against the paper. Traditionally, the skill of the letterpress printer was found in the ability to print with the perfect amount of pressure to achieve a crisp impression without deforming the paper. More recently, it is the ability to subtly sculpt the paper by increasing the pressure of the impression that is sought after. With the emergence of papers specifically designed for letterpress that are voluminous and soft, letterpress printers are able to exploit this dimensional quality and create works that play with depth and shadowing. Printing with increased pressure does lead to some additional design considerations. The mark left by deep impression on the reverse will be much more evident on thinner paper stocks than on thicker, softer papers.
 -
Debossing
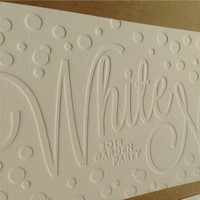 With or without ink, debossing is the impression created during letterpress printing. Debossing is by no means mandatory. The amount of pressure used can be varied to give more or less relief. This effect is accentuated by light and shadow, and the depth of the impression. It has the tendency to be less visible on darker papers and across large solid areas of impression.
 -
Thermography
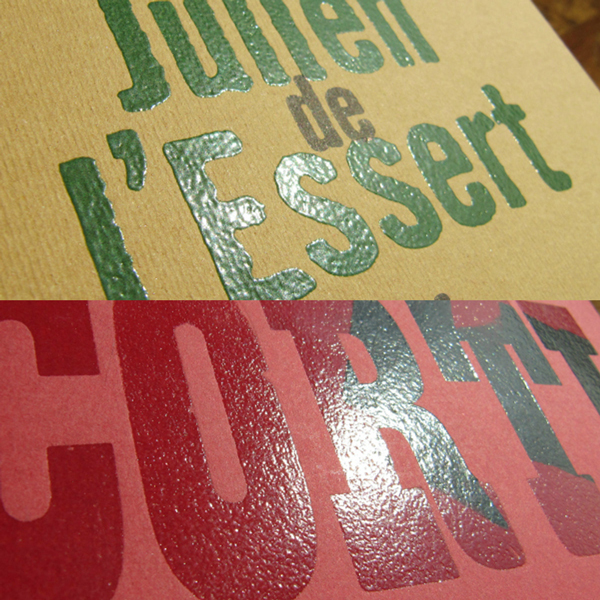
 Thermography creates a glossy, raised effect on the printed area. The freshly printed ink is sprinkled with thermographic powder (resin). The excess powder is carefully removed and the paper is passed through a heating element that melts the resin. The powder can be coloured or clear, thus allowing the colour of the ink to show through.
 -
Hot foil stamping
 Hot foil stamping involves transferring a thin coat of opaque pigment from a heat activated film using a heated metal die. The foils can be metallic, pearlescent, matt or glossy, patterned, transparent or colour (including opaque white).
Hot foil stamping may be combined with embossing to add further dimension to your projects. Our maximum format for hot foil stamping is 9x15cm. -
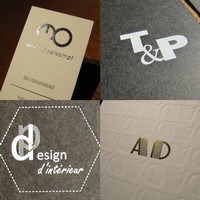
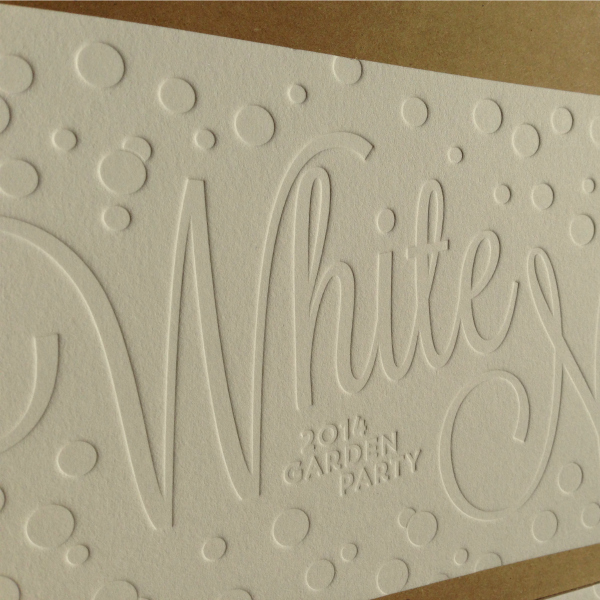
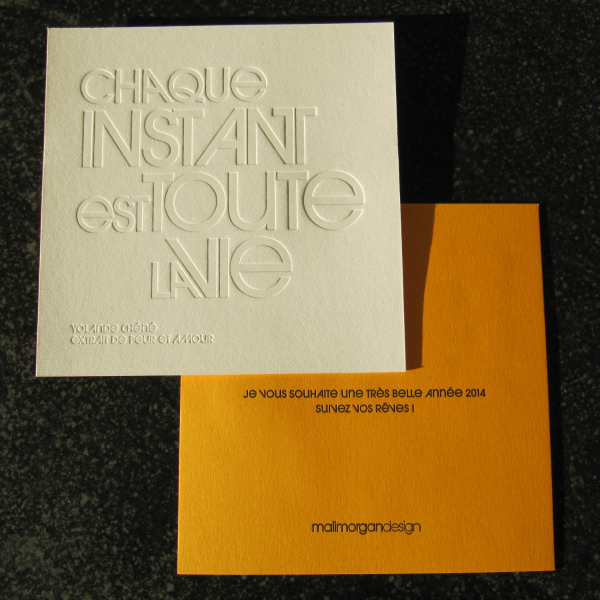
Embossing
 The process of embossing either raises or indents a design on paper using a male and female die and high pressure. The choice of paper is critical to achieving a quality result. Embossing can add a distinctive elegance to your creations. It plays with light and shade and requires no other embellishment. It is possible to combine colour printing and embossing (a two-step process), also hot foil stamping and embossing. It is worth noting that colour tends to absorb the light and can diminish the play of light and shadows created by this technique.
 -
Die cutting
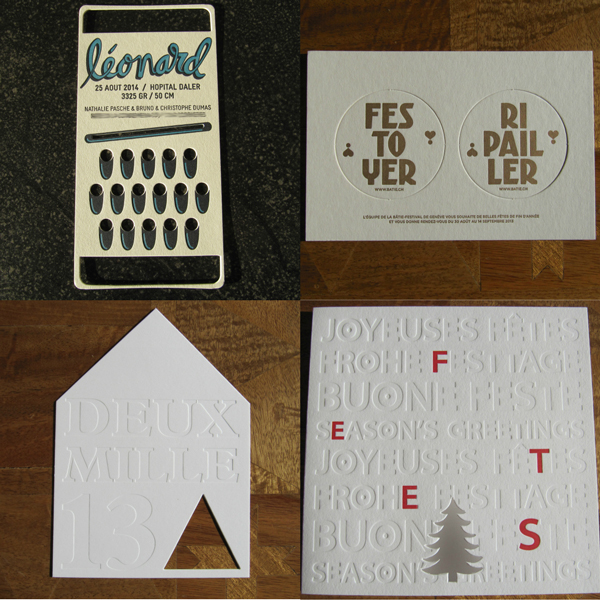
 Die cutting is the process of using a type-high steel-rule die to cut a particular form into paper. The die cut form is created by embedding steel blades and creasing rules into a wooden support based on a vector outline. The cost of fabrication of a die cut form varies according to the complexity of the outline. Highly complex forms with very tight angles are better suited to laser cutting.
 -
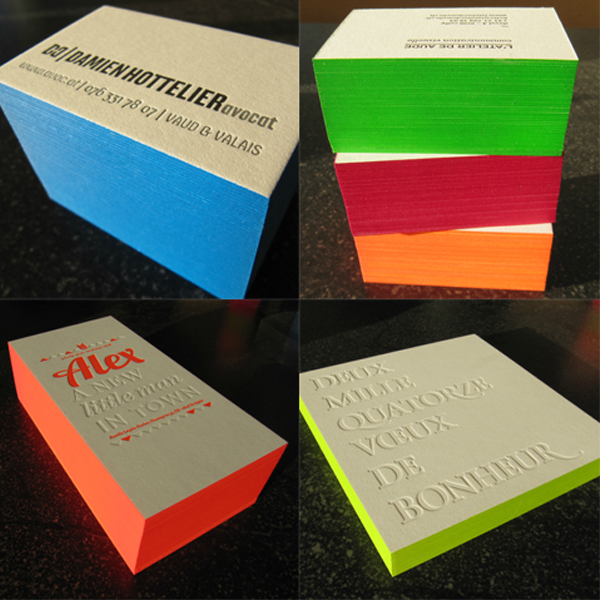
Edge colouring
 We offer edge colouring on paper of 400 gsm and above. For good results, it is critical that the paper is cut perfectly. We also recommend avoiding designs that bleed over the edges for the best results. We do not offer edge colouring for items that have been die cut or duplexed.
 -
Large solids and knockout
 Large solid areas can be printed using letterpress, but there are caveats. Letterpress is not well suited to printing large areas of solid colour and fine details at the same time as the two elements require different press treatment. Keeping fine details sharp requires less ink, solid areas of colour more ink. If both elements are to be printed at the same time, using less ink to keep the fine detail sharp will mean greater colour variation in the solid areas. Printing large solids can be a challenge when trying to maintain consistency of colour density. Large areas of ink coverage will also raise the grain of the paper and add to this effect. Inking is a manual process and whilst we make every effort to minimise variation, it is not possible to achieve the consistency seen in offset printing. If irregularities in colour density are an undesired effect, we recommend that coloured paper stock be used.
With respect to debossing, the effect is less notable on large solid areas of colour as the play of light and shadow is diminished. We do not recommend printing large areas of solid colour with fine knockout details. -
Duplexing
 The process of duplexing involves gluing together two or more sheets of paper. It allows the creation of thicker paper stocks or use of multiple colours to create custom papers. Duplexing two different colours of paper will result in a paper that has two-colour edges.
 -
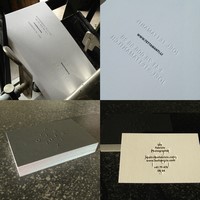
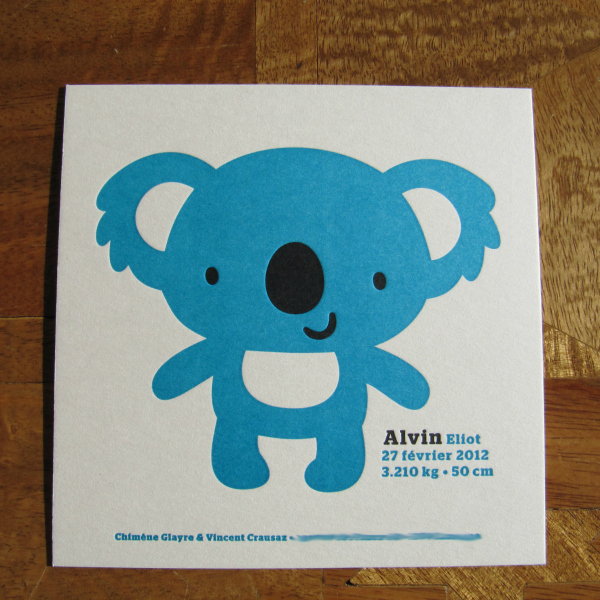
Printing light on dark
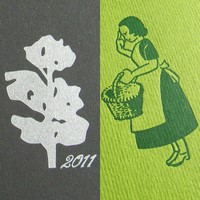 Printing light colours on dark stock is possible, but there are exceptions. Darker inks can be printed on coloured paper, however our inks are not opaque (except the metallics), which means that the lighter the ink, the more it will be affected by the colour of the paper stock. For example, yellow ink printed on blue paper will give a greenish result. In the case of printing tone on tone: light green ink printed on green paper will give a darker green result.
Metallic inks are opaque and matt. They are a good solution for printing on darker papers and they have a subtle metallic effect. The lighter the support, the less visible the metallic finish becomes as there is less contrast.
If you want a true white printed on a darker paper, we recommend that you opt for hot foil stamping as the films used are 100% opaque.


![]()